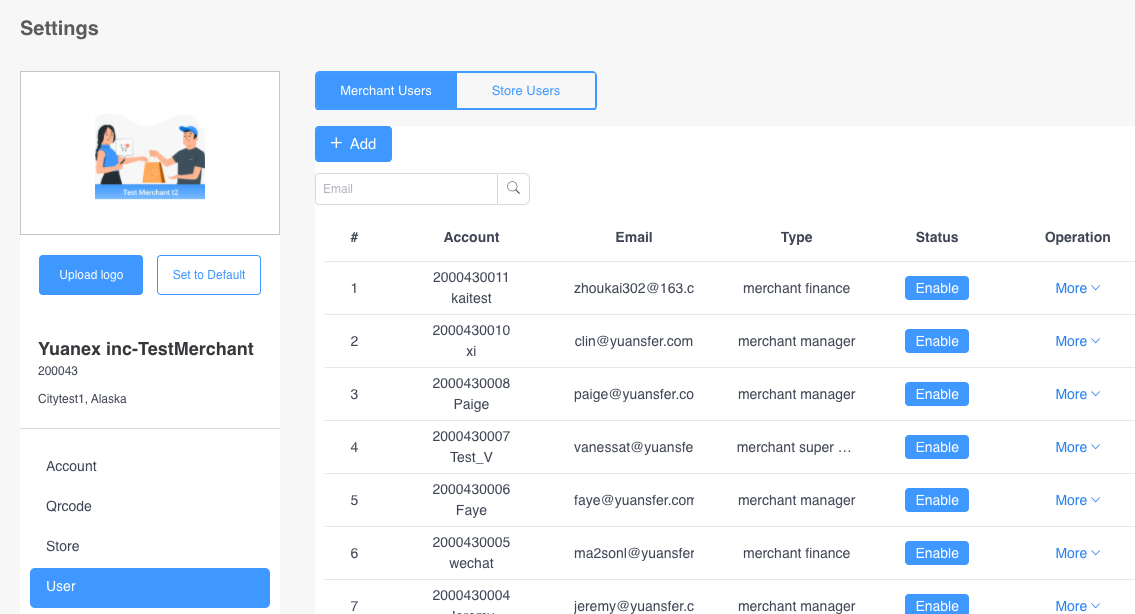
User view allows you to view all users or filter by a specific email address
You are able to view the Account associated, Email handle, Type of user, Status (enabled or disabled) and details under the “Operation” drop down menu
Merchant Users
View all the “Merchant” level users when you toggle the “Merchant User” at the top of the page
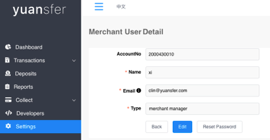
To view more details, Under the Operation Column, select the “More” Drop down options and select “Details” (It will be blank if User “Type” is Finance Manager)
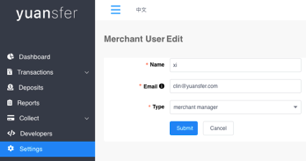
Here, you have the ability to edit user details and reset passwords
Under the “Edit” option, you will be able to edit the following: Name, Email, Type, Merchant Finance, Merchant Super Manager, Merchant Manager. It will be blank if User “Type” is Finance Manager
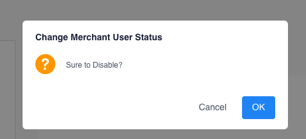
Under the “Disable” option, you can disable Merchant User Accounts where the email will no longer have access to the Pockyt Portal.
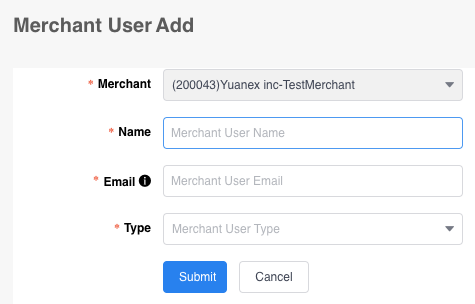
Adding a Merchant user:
Click the blue “+Add” Button
When you are adding in a “type”, note that “Finance” type has limited abilities by ONLY being able to view Transactions and cannot make edits to the portal. Super manager vs. Managers can make changes such as issue refunds, void transactions, sent invoices, pay by links
Store Users
View all the “Store” level users. Store level users can only view their specific store, and not all the stores under a Merchant Account.
You and view the Store Account, Store Name, Email, Type and Status
Adding a Store User:
Store Users can ONLY view store information, dedicated to the store
Click the blue “+Add” Button
SID: choose from dropdown menu
Type:
Cashier checker: sale, report (can see store transactions)
Store staff: sale, report (can only see his/her own transactions)
Store Manager: sale, return, void, report
Account Name
Email: must be a unique handle
Click Submit to apply. This will generate a Store User ID